|
|
|
Finding Parts
Searching
- Enter a search term in the Search field.
- Click
 . The system displays the results of any parts that match your search term in the Search Results dialog box.
➀ If your enter a guide number, OnePad will only look for exact matches. For example, if you enter 471, OnePad will look for parts with a guide number or part number of 471 but not 4710 or 4711. If you enter a part number or description, OnePad will also look for partial matches.
➁ You can enter a part description in part or in full. Search results will include any part that contains the search term in its description.
Filtering
- Leave the Search field empty.
- Click . The system displays all parts for the selected vehicle model and submodel.
- Enter a search term in the Search field. OnePad filters the list of parts and selects the first one that matches your search term.
➀ If your search term is numeric, OnePad will match by guide number. If you search term is alphanumeric, OnePad will match by part description.
Selecting a Part from the Search Results
By default, search results are sorted by guide number and OnePad will select the first part in the list of results for you. If you want to change how results are sorted, click a column header once for ascending order or twice for descending order. To include implausible and invisible parts in the search results, select the parts tickbox.
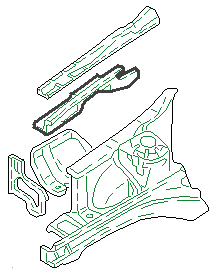
- Click the part to highlight it in the list. If available, the system displays a drawing of the part.
➀ If necessary, you can increase the size of the window that displays each part. Click here to read more.
- Click . The system highlights the part in the Vehicle Drawings Panel as shown below. You can now assign a repair and/or paint method. Refer to Selecting and De-selecting Repair and Paint Methods for more information.
Notes:
- If OnePad is not able to locate the desired part, consider making modifications to model option selections. Refer to Selecting Model Options and De-Selecting Model Options for more information.
- If configured, the system will return matches within all models of the same manufacturer. By default, the system only returns matches within the specific manufacturer model.
- In the Subsheet column, the system shows you the vehicle zones that the part belongs to, so that you can decide in which zone to capture the part. If configured, you can also click ![]() in the Repair Panel to search for the selected part in other zones. You can then, if necessary, switch to a different zone to capture the part.
in the Repair Panel to search for the selected part in other zones. You can then, if necessary, switch to a different zone to capture the part.
- You can also increase or decrease the size of each column to view all of the text in a column. Position the mouse cursor between two adjacent columns. The mouse cursor changes to ![]() . Now, click and hold the left-mouse button and drag the mouse to the left or right.
. Now, click and hold the left-mouse button and drag the mouse to the left or right.